Lise Dufour-Denuault, Glass and silver maker
The works
Drag or use the arrows Swipe
ILussatite
Glass bookends

IICroissance
Set of three glass plates

IIITiffany stained glass
Tiffany-style stained glass

IVSilver jewellery
Hand-made silver pieces

VRecycled bottle glass
Fused glass from crushed bottles

VIArt de la table
Serving tray for molecular cuisine

VIIPersonal work
Torch work, glass and drawing
Lussatite
One block of glass, split in two and opened like a geode.


Lussatite is a pair of bookends made entirely of glass. It takes its name from lussatite opal, a rare stone known for its play of light and its iridescent reflections.
A single block of glass was cut in two to make two identical rectangles. Both pieces were then sandblasted with globule-shaped motifs that recall the natural inclusions found in some minerals, and some of the motifs were given a satin finish to create a play of light. Set apart, the two blocks read like a geode broken open, the motifs creating a contrast between the two faces.
- Fuse pieces of glass into a block of the chosen shape and size.
- Saw the block of glass in half to get two identical blocks.
- Grind the blocks with progressively finer grits to perfect their shape.
- Polish.
- Cover the pieces with strong tape, then cut the tape away to expose the glass in the chosen shapes.
- Sandblast: the machine blasts sand at the exposed areas and carves them.
Croissance
Three stacked plates that follow a flower, and a meal, from bud to fallen petal.
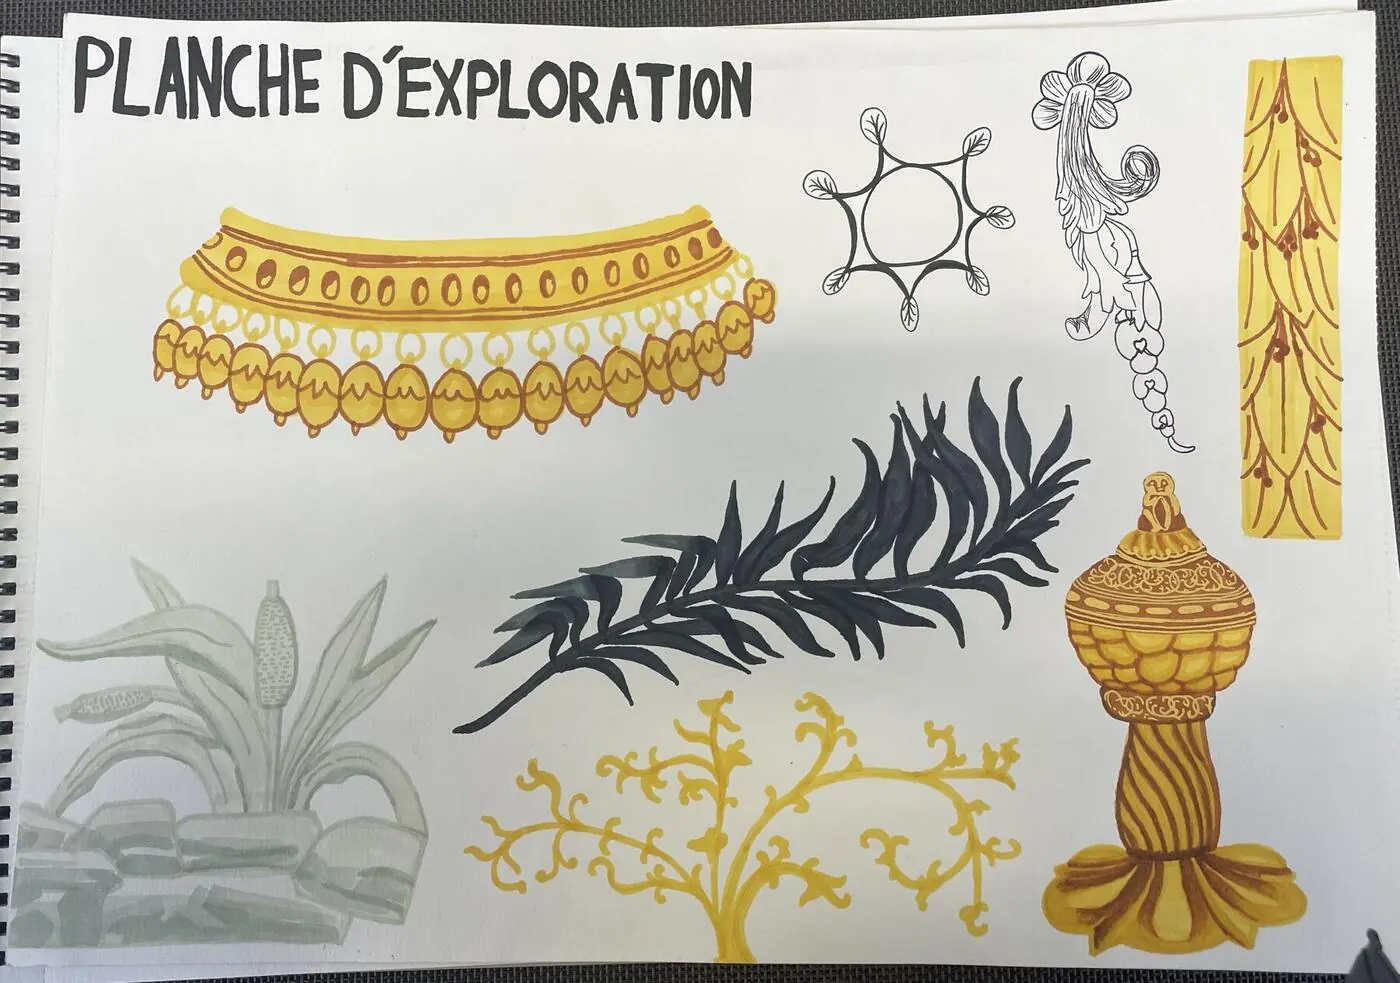
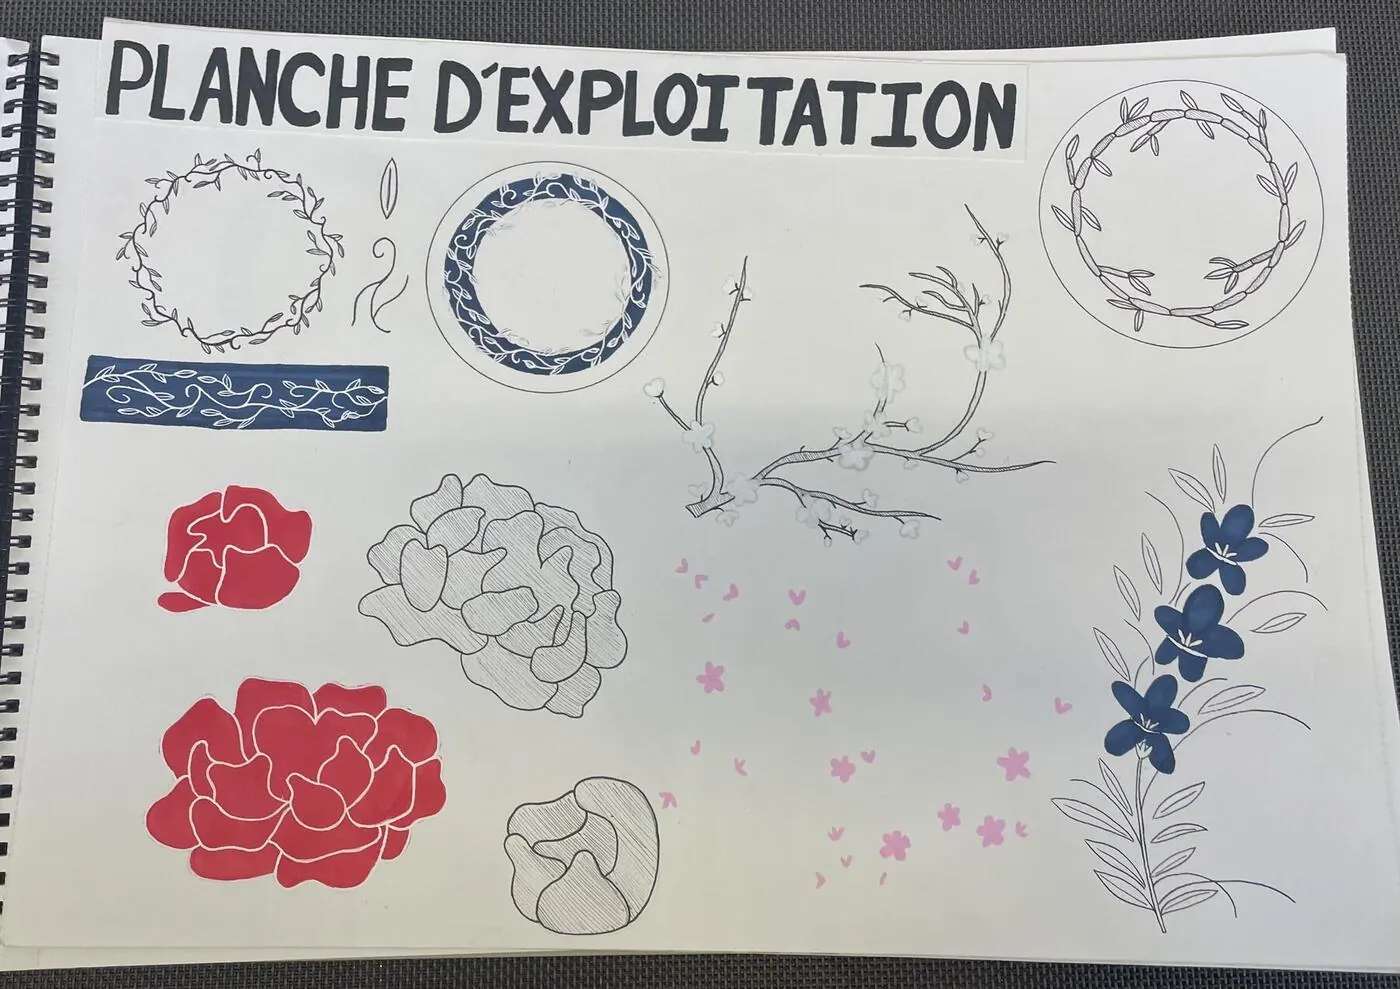
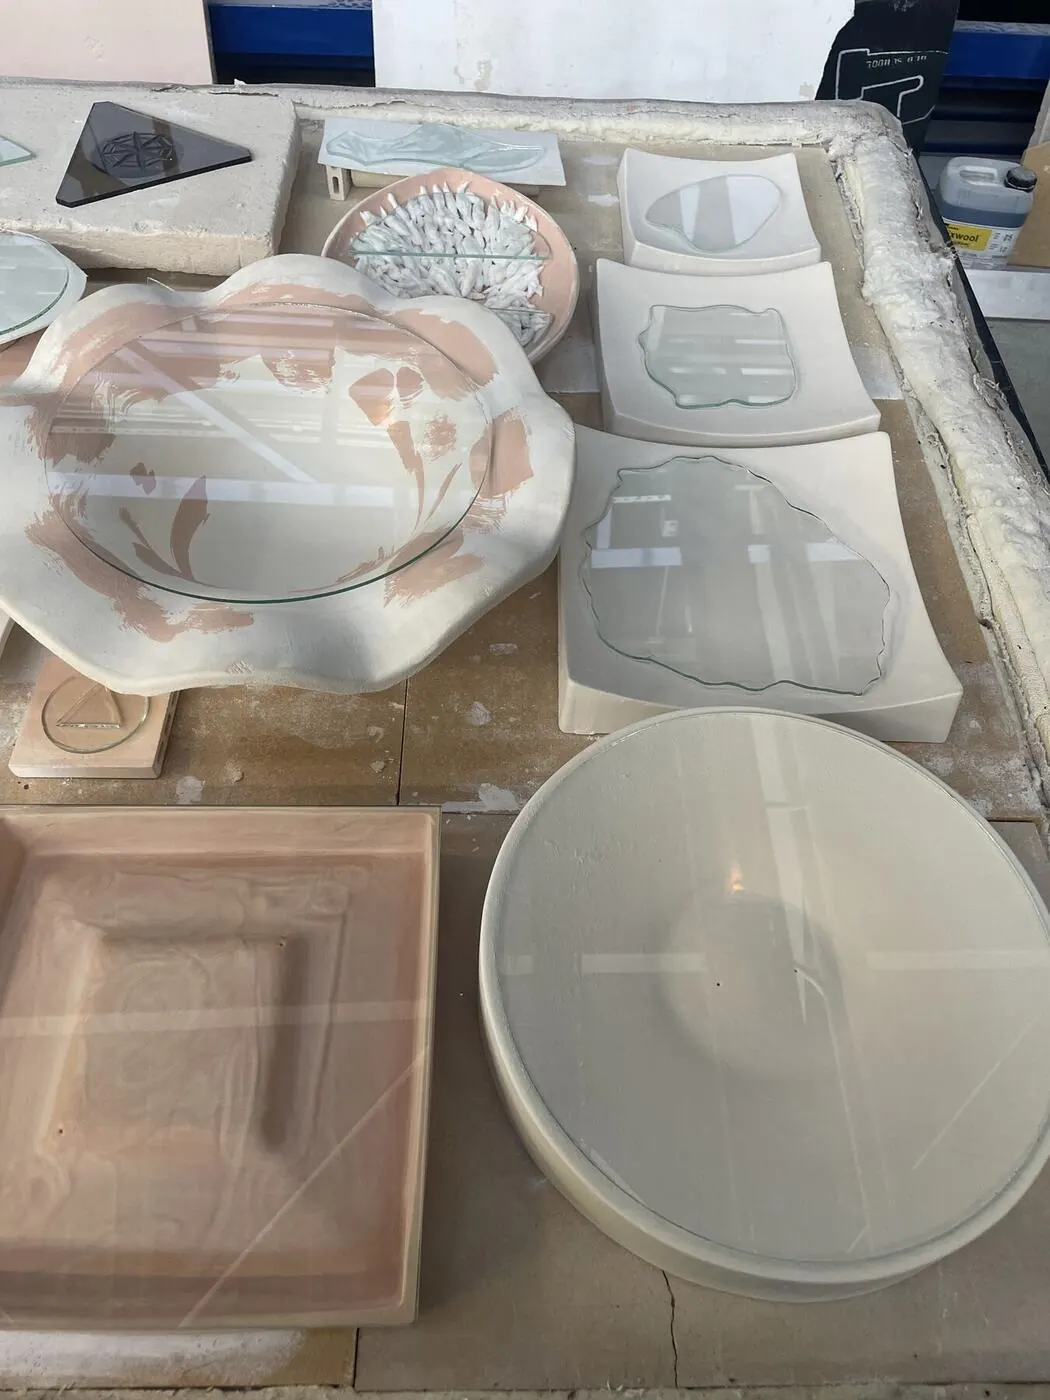
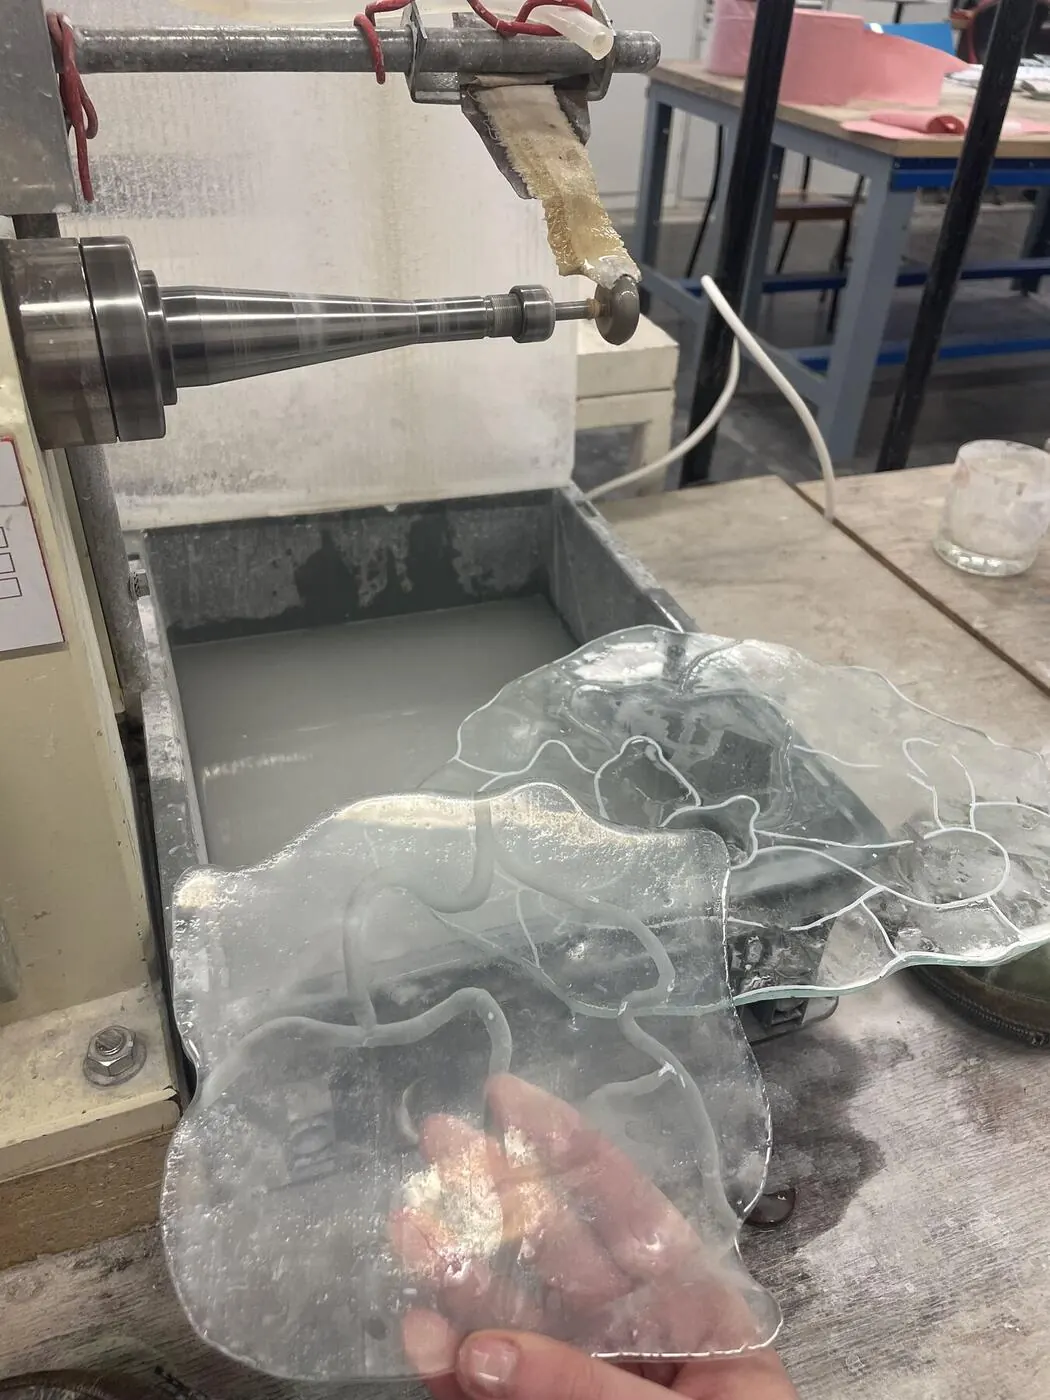
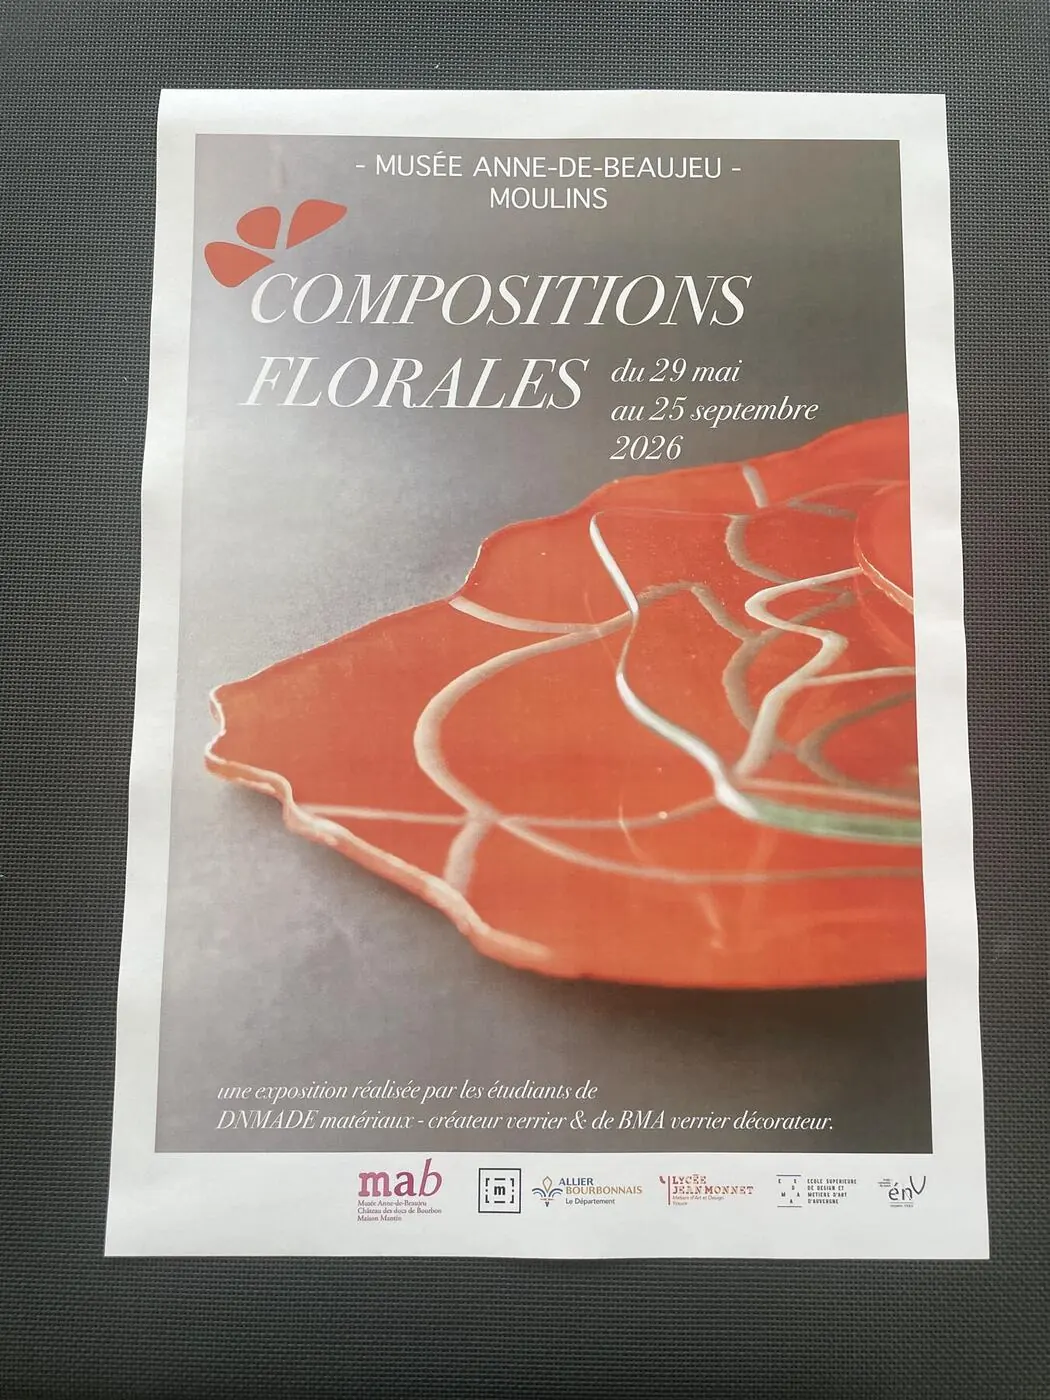
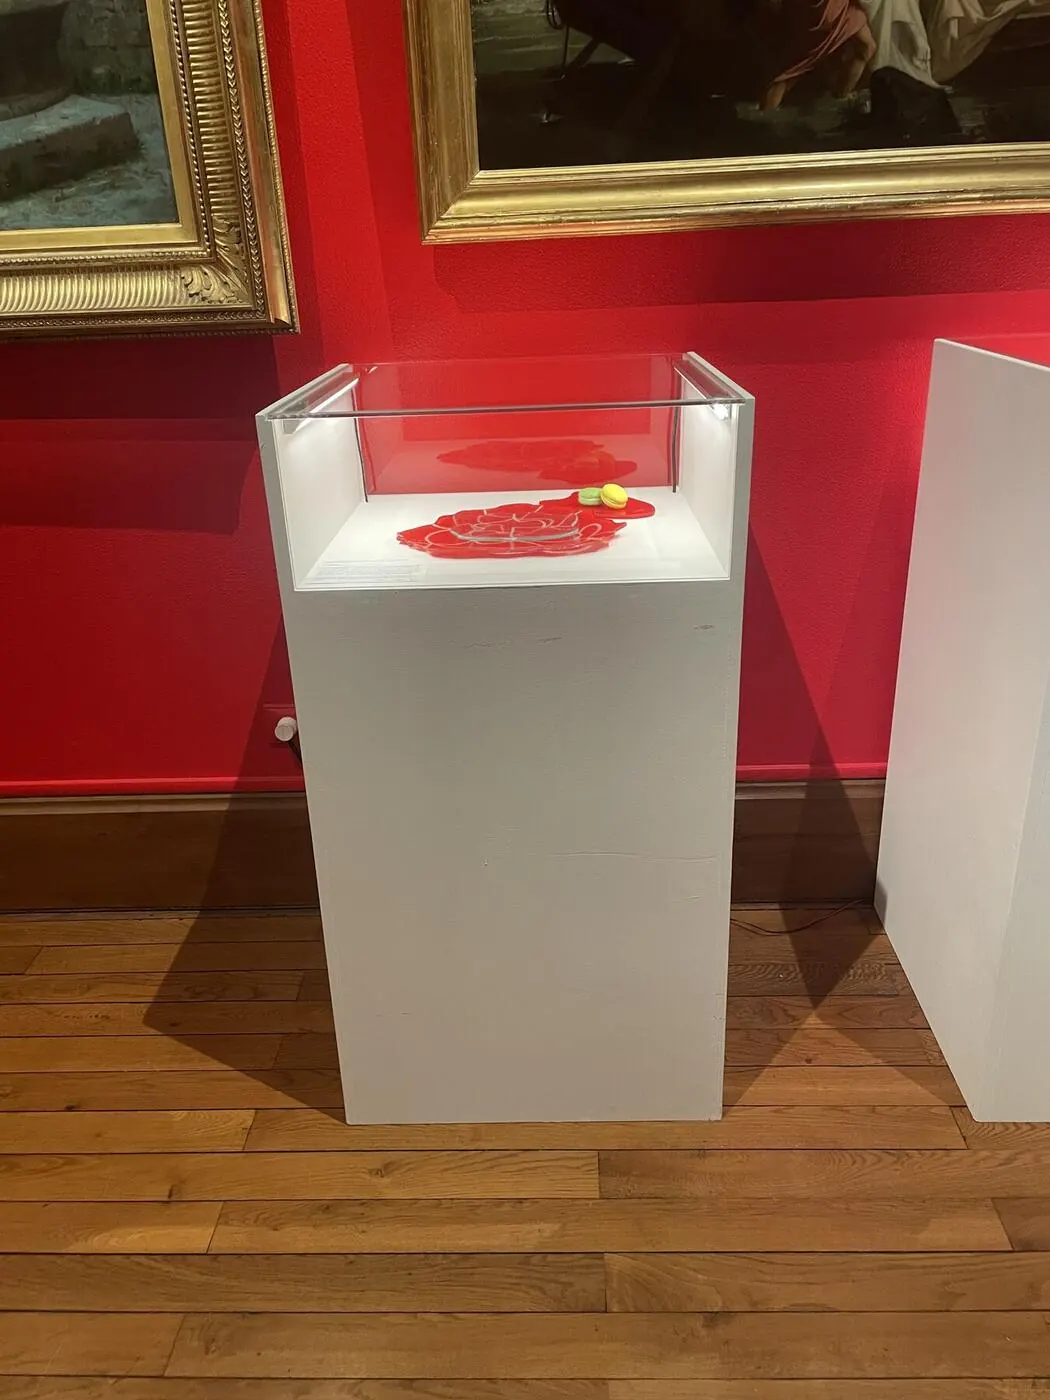


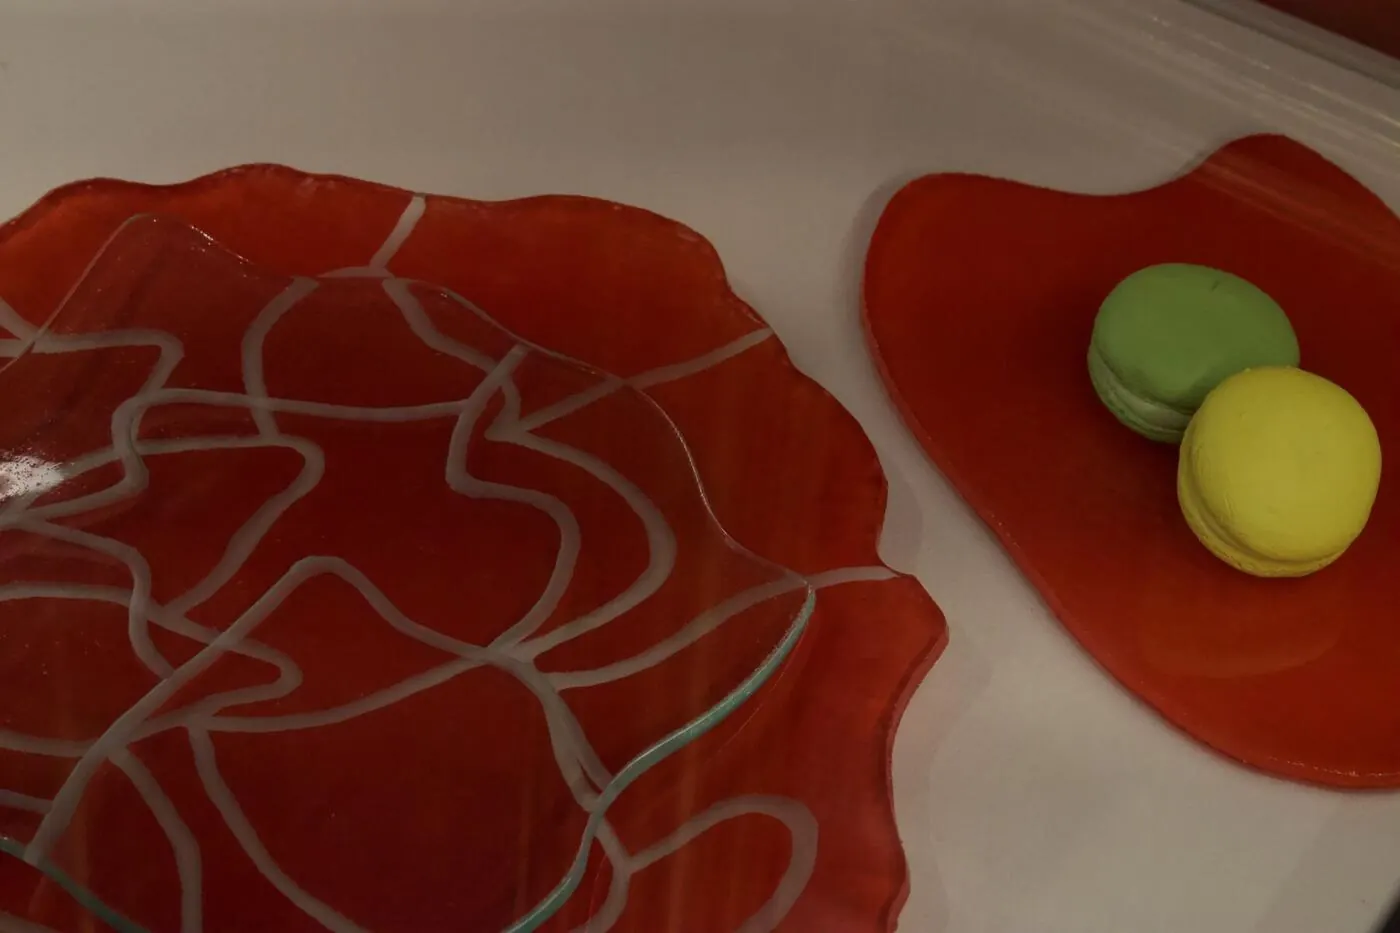

The Croissance plates were inspired by the floral collection of the Asian section of the Musée Anne-de-Beaujeu in Moulins. The set is built on the idea of deconstruction, told through the courses of a meal and the life cycle of a flower.
The three plates are stacked and used one after the other during the same meal. The top plate, for the starter, is a bud: texture and depth mark the beginning of the flower's life and of the meal. Once the starter is finished, it is lifted away to reveal the second plate, the flower in full bloom, used for the main course. It is rich in colour and detail. The last plate, for dessert, is a fallen petal. It keeps the flower's colour but loses volume and detail, closing the cycle of the flower and the meal.
Shown in the exhibition Compositions florales, Musée Anne-de-Beaujeu, Moulins, 29 May to 11 September 2026.
Made with Clémentine Bargin
- Explore our sources of inspiration.
- Cut a sheet of glass to the chosen shape.
- Thermoform the cut sheet in a mould to give it the shape of a plate.
- Enamel the underside of two of the plates in bright red. Apply several coats, firing after each one, until the red is opaque.
- Carve through the enamel to reveal the design, and carve the clear plate the same way. The motifs are left unpolished so they stay visible.
Tiffany stained glass
From a paper pattern to a soldered panel, one piece of glass at a time.


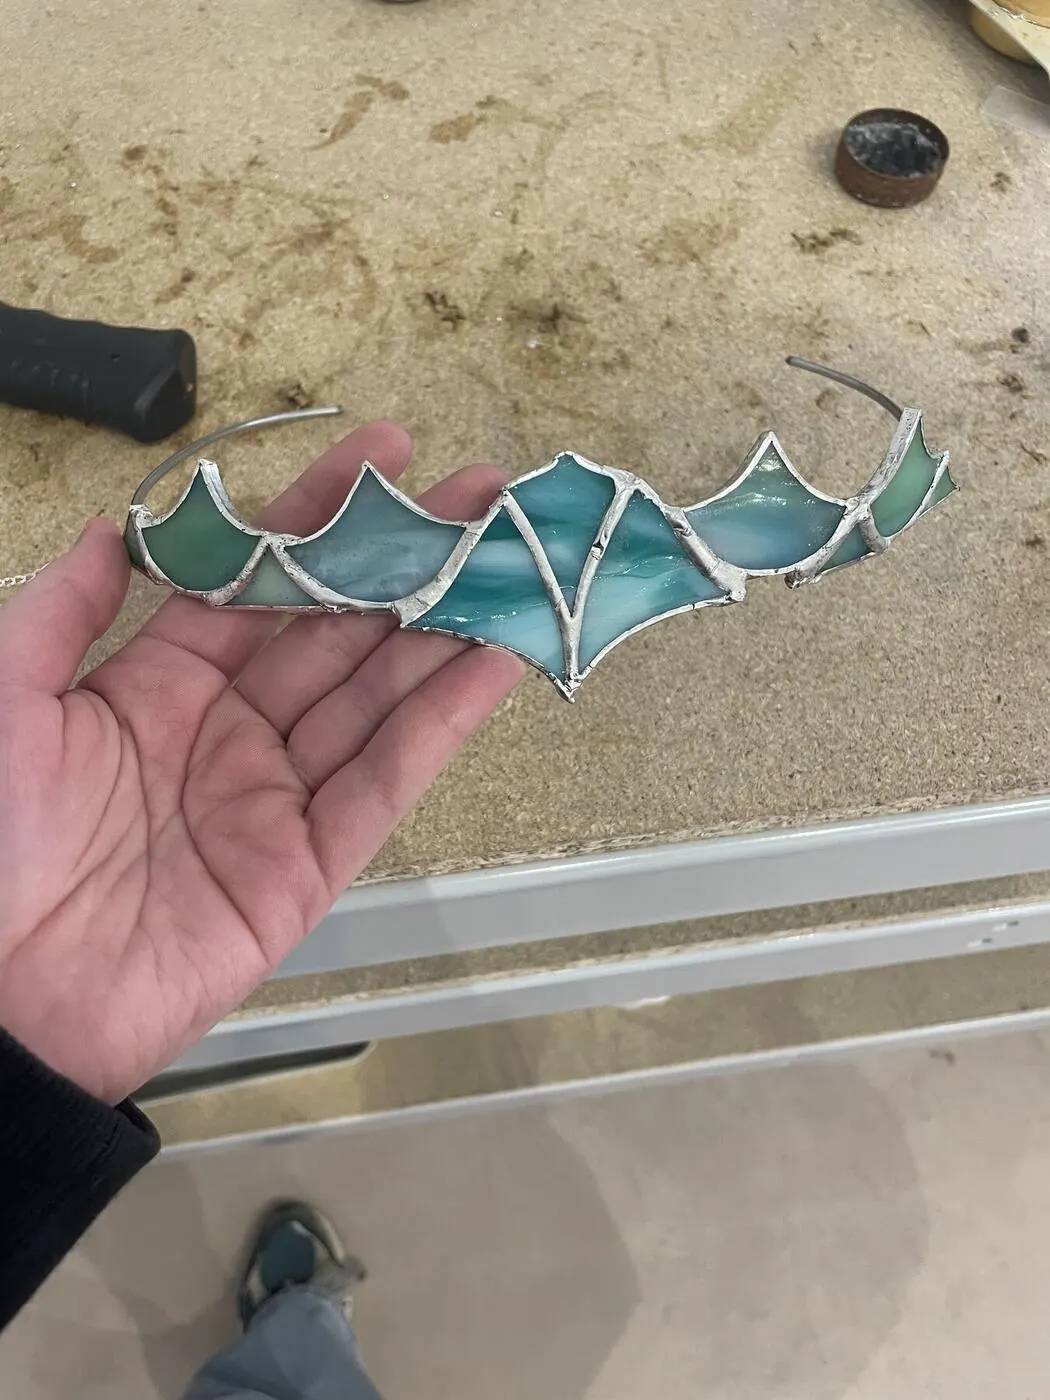

During my stained glass internship, I worked with the Tiffany technique: each piece of glass is cut from a paper template, edged with copper foil, then soldered to its neighbours.
The photos follow several pieces made during the internship, from the first drawing to the finished panels.
Internship at Tue L'amour, the stained glass studio of Maryon Simon.
- Make a drawing, print it and cut out the pieces to use as templates.
- Choose the glass and the colour of each piece.
- Cut the glass, using the paper pieces as templates.
- Grind the cut pieces until they fit together perfectly.
- Wrap the edge of each piece in copper foil, fold it over and smooth it down so it is clean and stuck to the glass.
- Tape the pieces together in their final shape.
- Solder everything together.
- Clean the whole piece.
- Optional: apply a patina to turn the solder copper or black.
Silver jewellery
From melted silver to finished pieces, sawn, soldered and polished by hand.


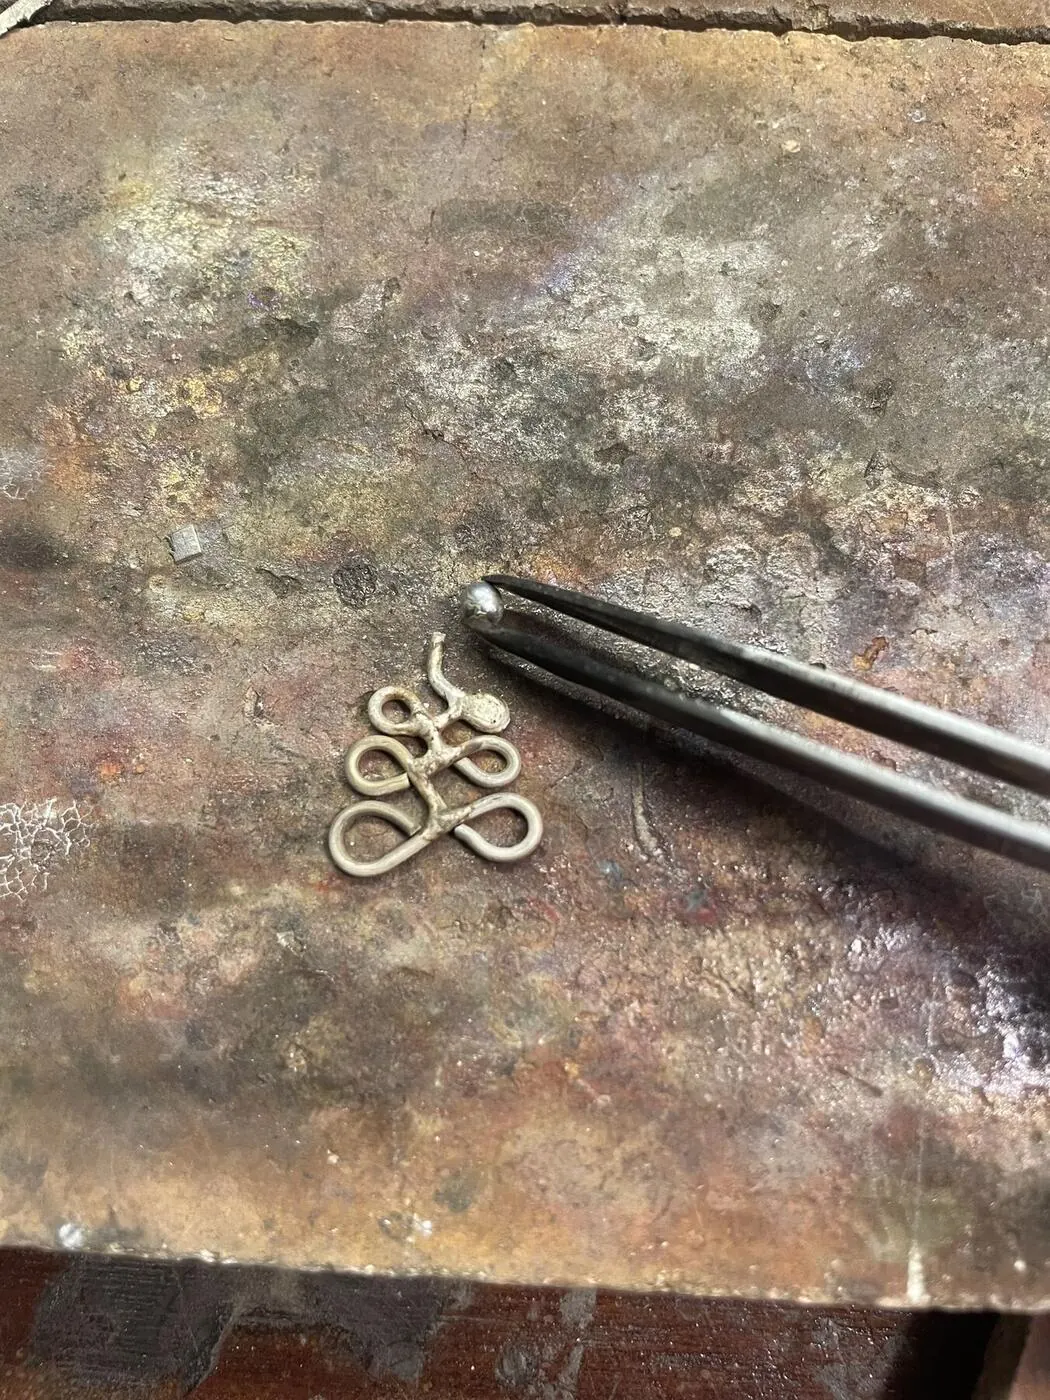


During my jewellery internship, I made silver pieces by hand, from melting the metal to polishing the finished object.
- Draw the design at the actual size of the piece.
- If needed, melt several scraps of silver together to have enough material.
- Flatten the nugget into a sheet.
- Cut out the drawing and glue it onto the silver sheet.
- Saw out the motif, then refine the shape with a rotary tool (Dremel).
- Make silver wire by pulling it through a draw plate, down to the chosen size.
- Bend the wire into the chosen shape.
- Solder the separate elements together to assemble the piece.
- Bend the piece if needed.
- Polish and clean the piece.
- Weigh the silver used.
Recycled bottle glass
Bottles crushed, sorted by colour and fused into a new design.


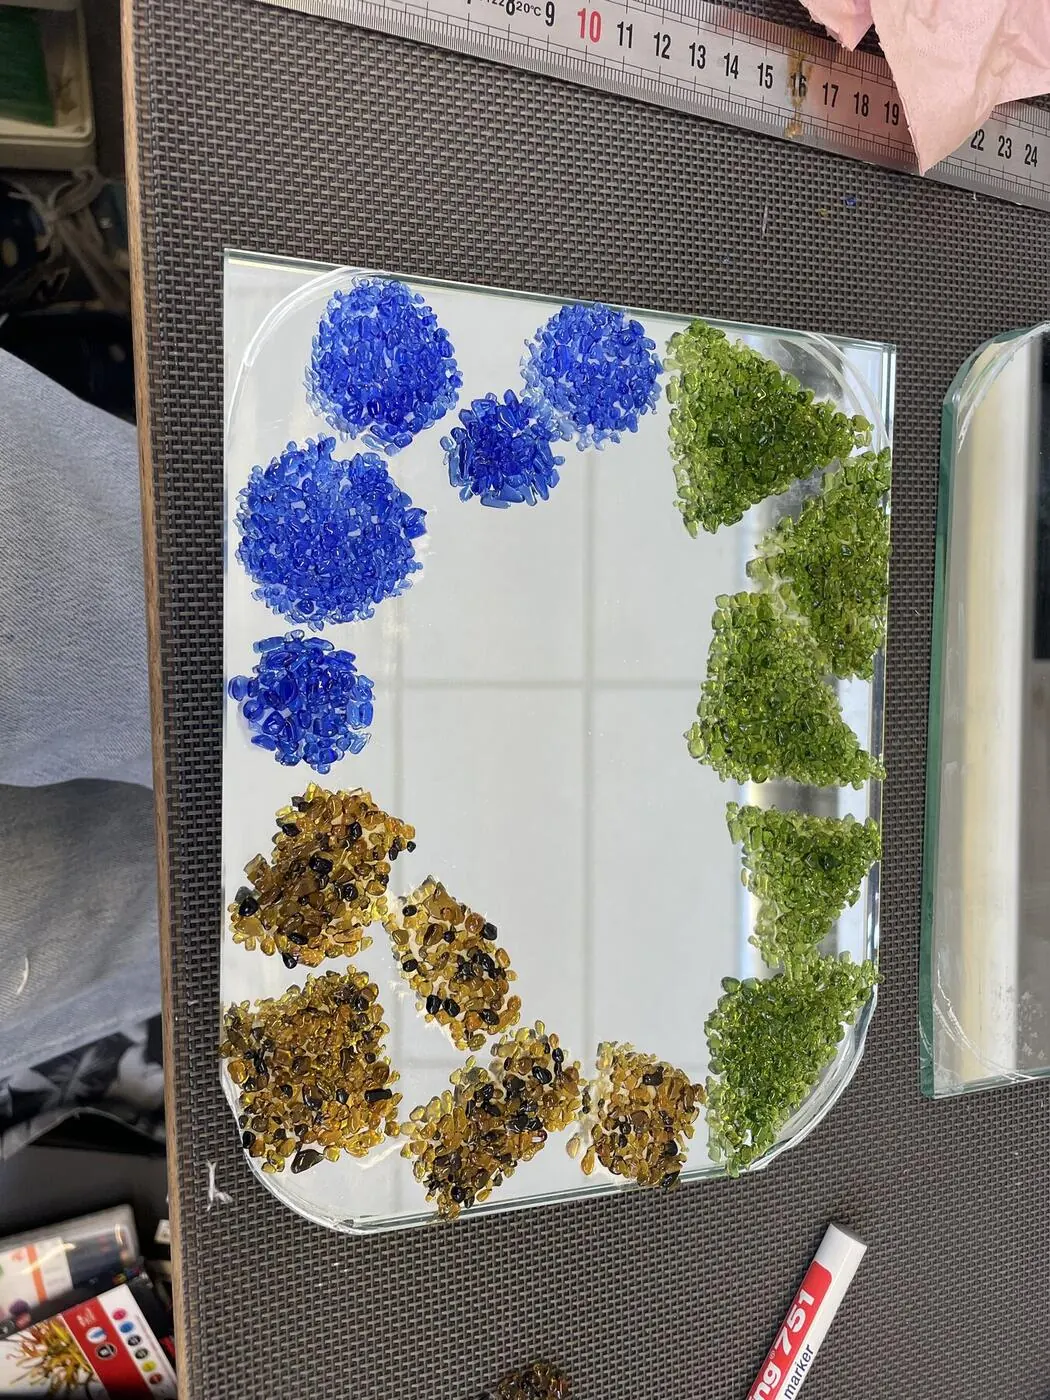
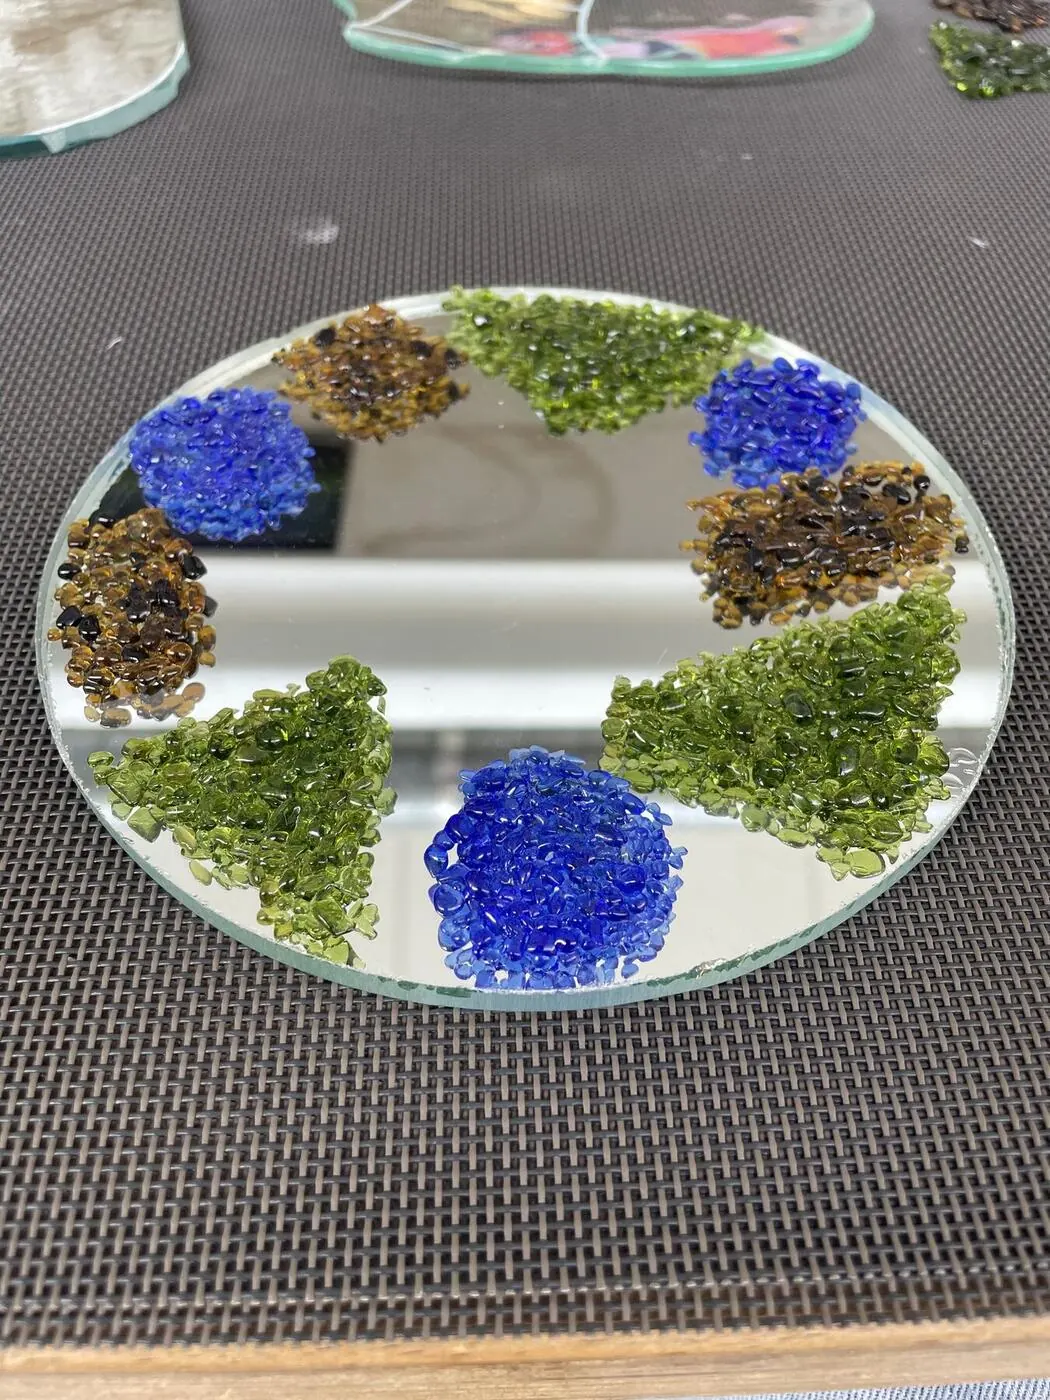
A one-week workshop: design a piece for the mayor of Saint-Amand-Montrond, using only recycled bottle glass. The workshop also showed that glass headed for landfill can still be used. The chosen design would be made on large glass discs and shown at the town hall and in an exhibition. Designs that were not chosen were still made on small glass discs.
- Collect glass bottles of many different colours, remove the labels and clean them thoroughly.
- Crush the bottles to the grain size needed, then sort the grains by colour and size.
- Test each colour, and colour mixes, to see whether fusing onto a sheet of float glass changes the colour.
- Transfer the design onto the glass sheet, placing the grains with tweezers and a brush.
- Fire in the kiln.
Art de la table
Leftover colour from the hot shop, cut and polished into a tray for molecular cuisine.
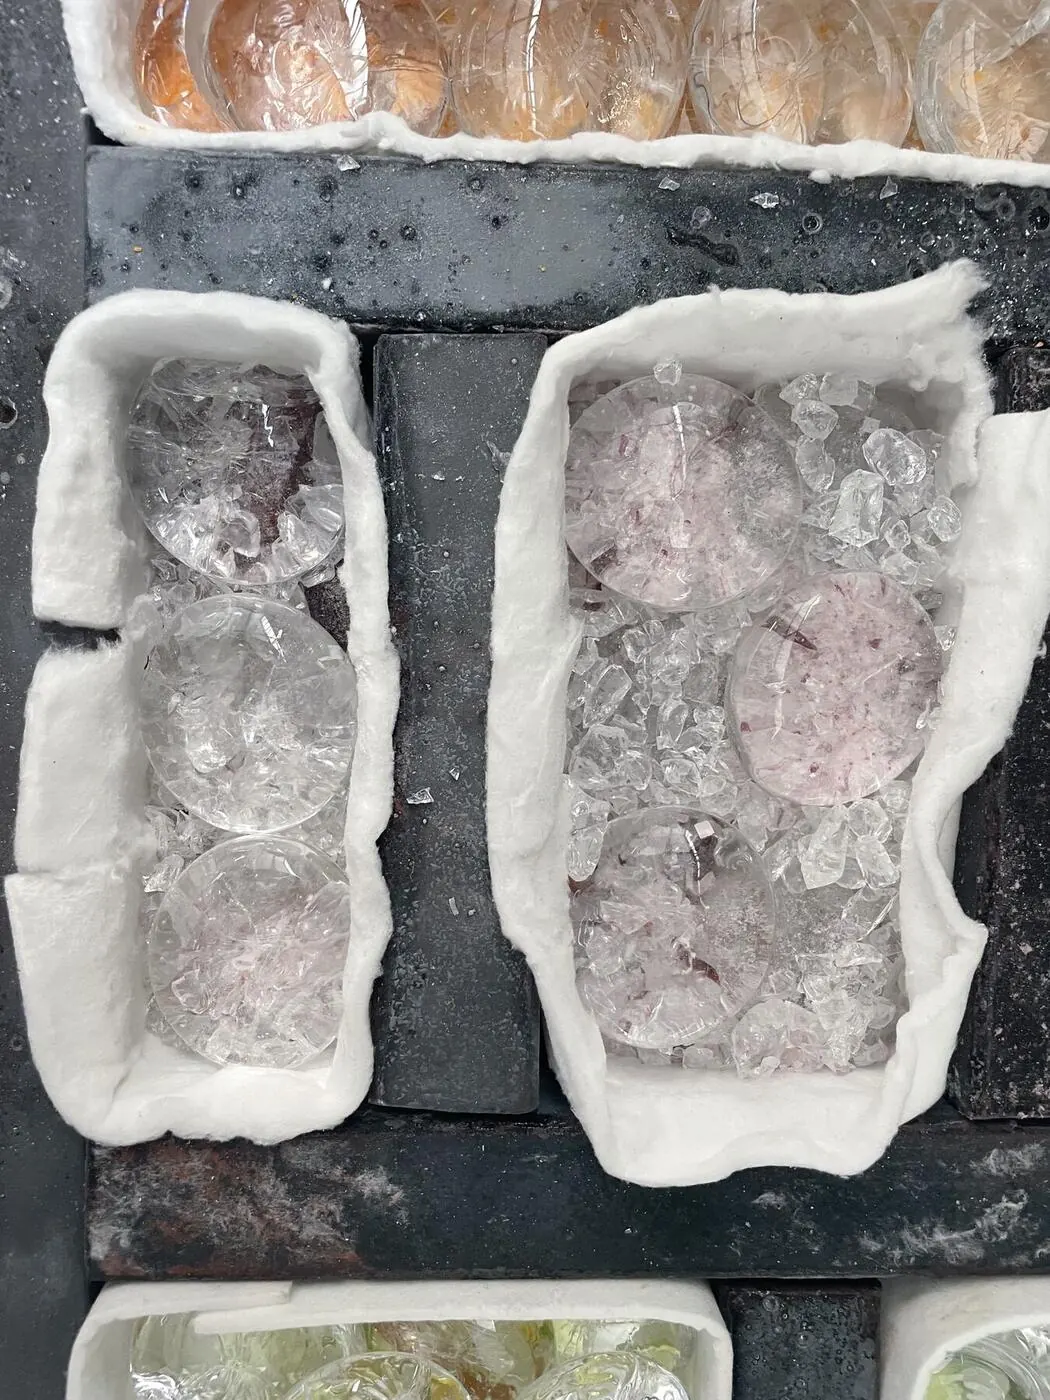
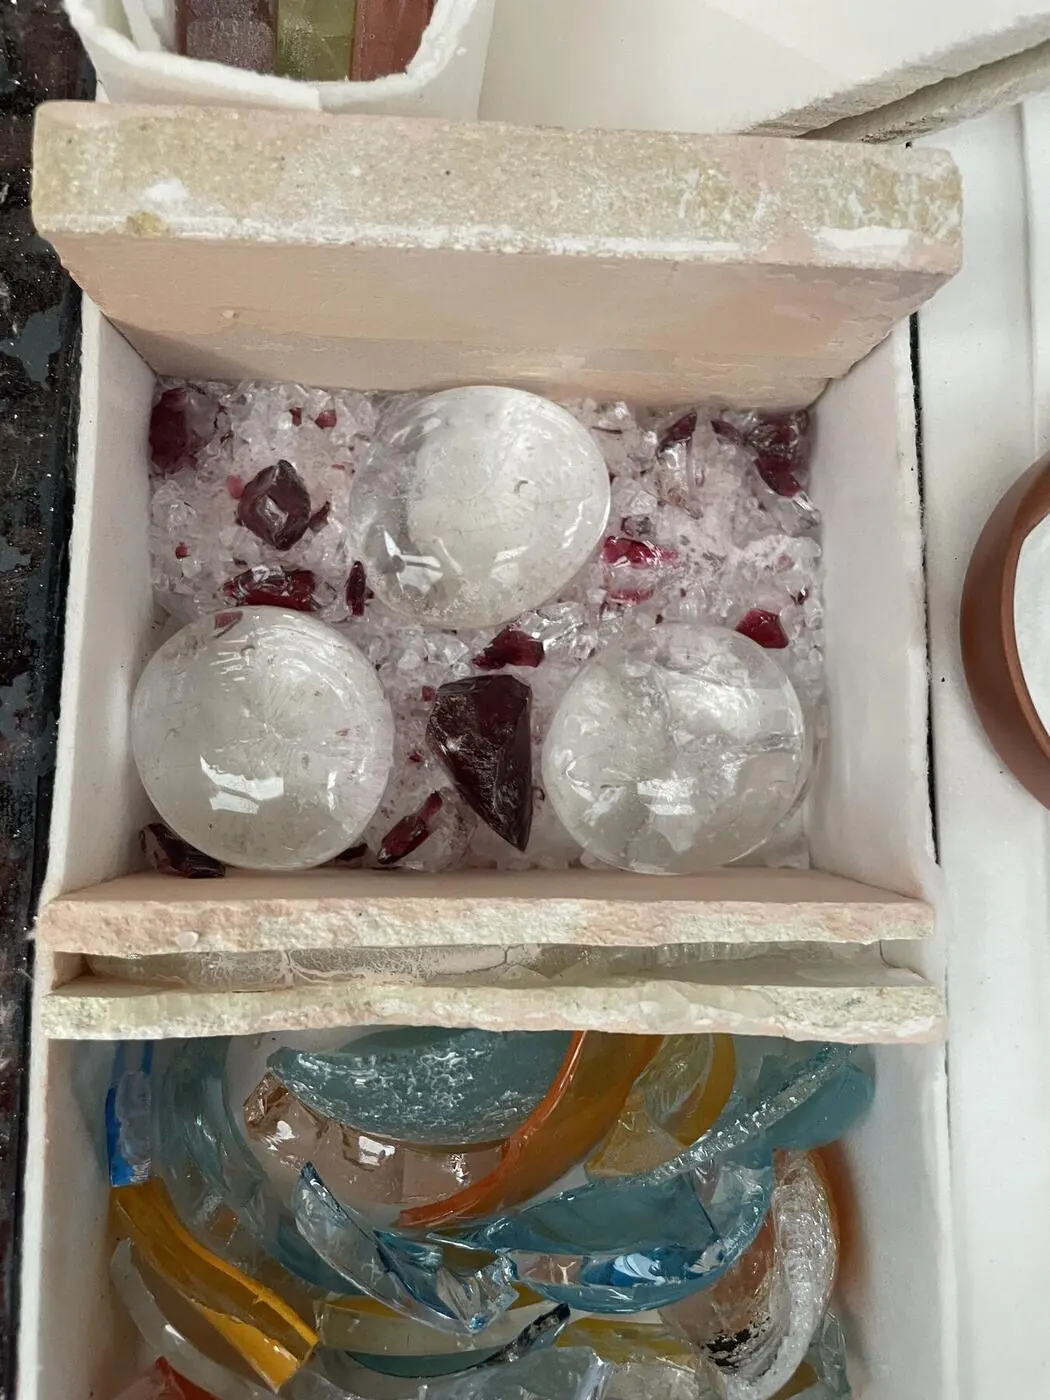
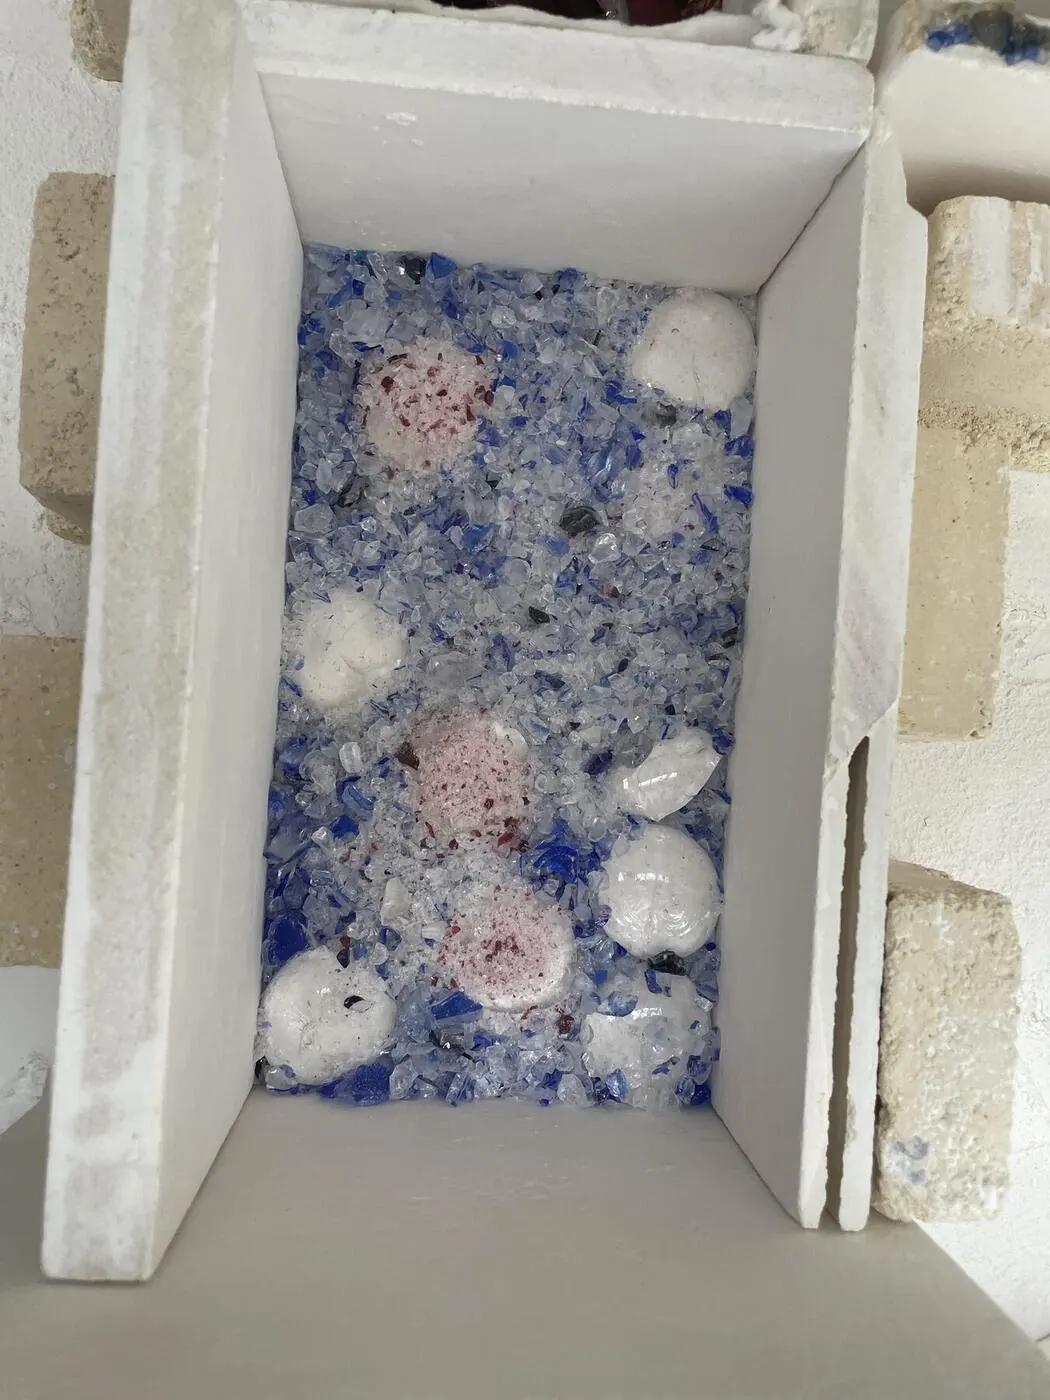
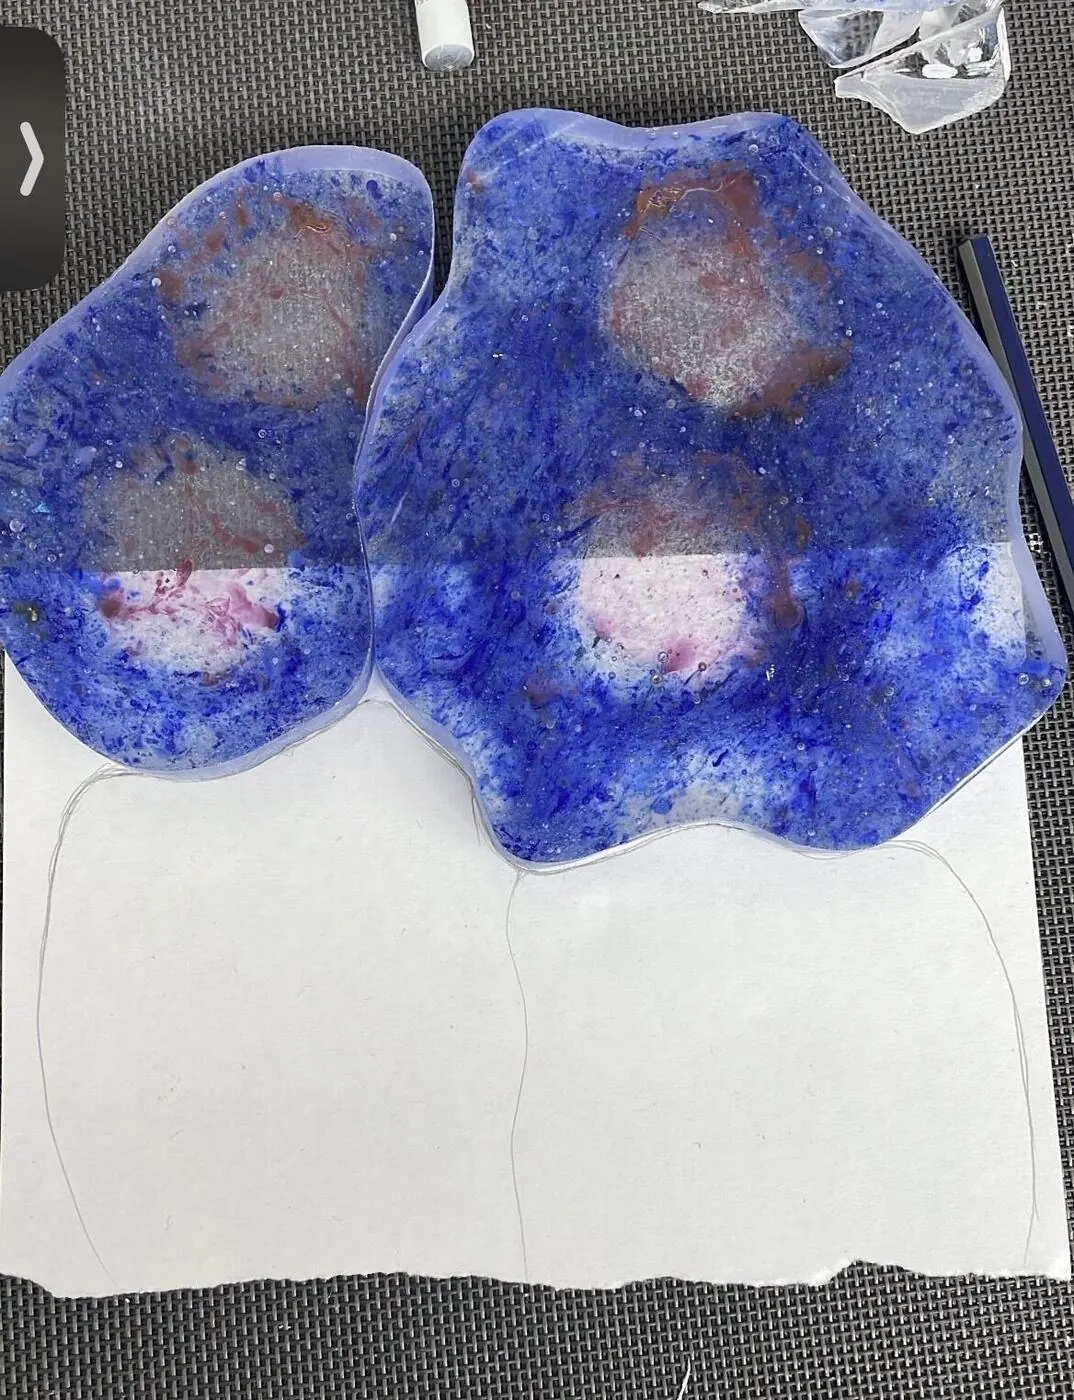
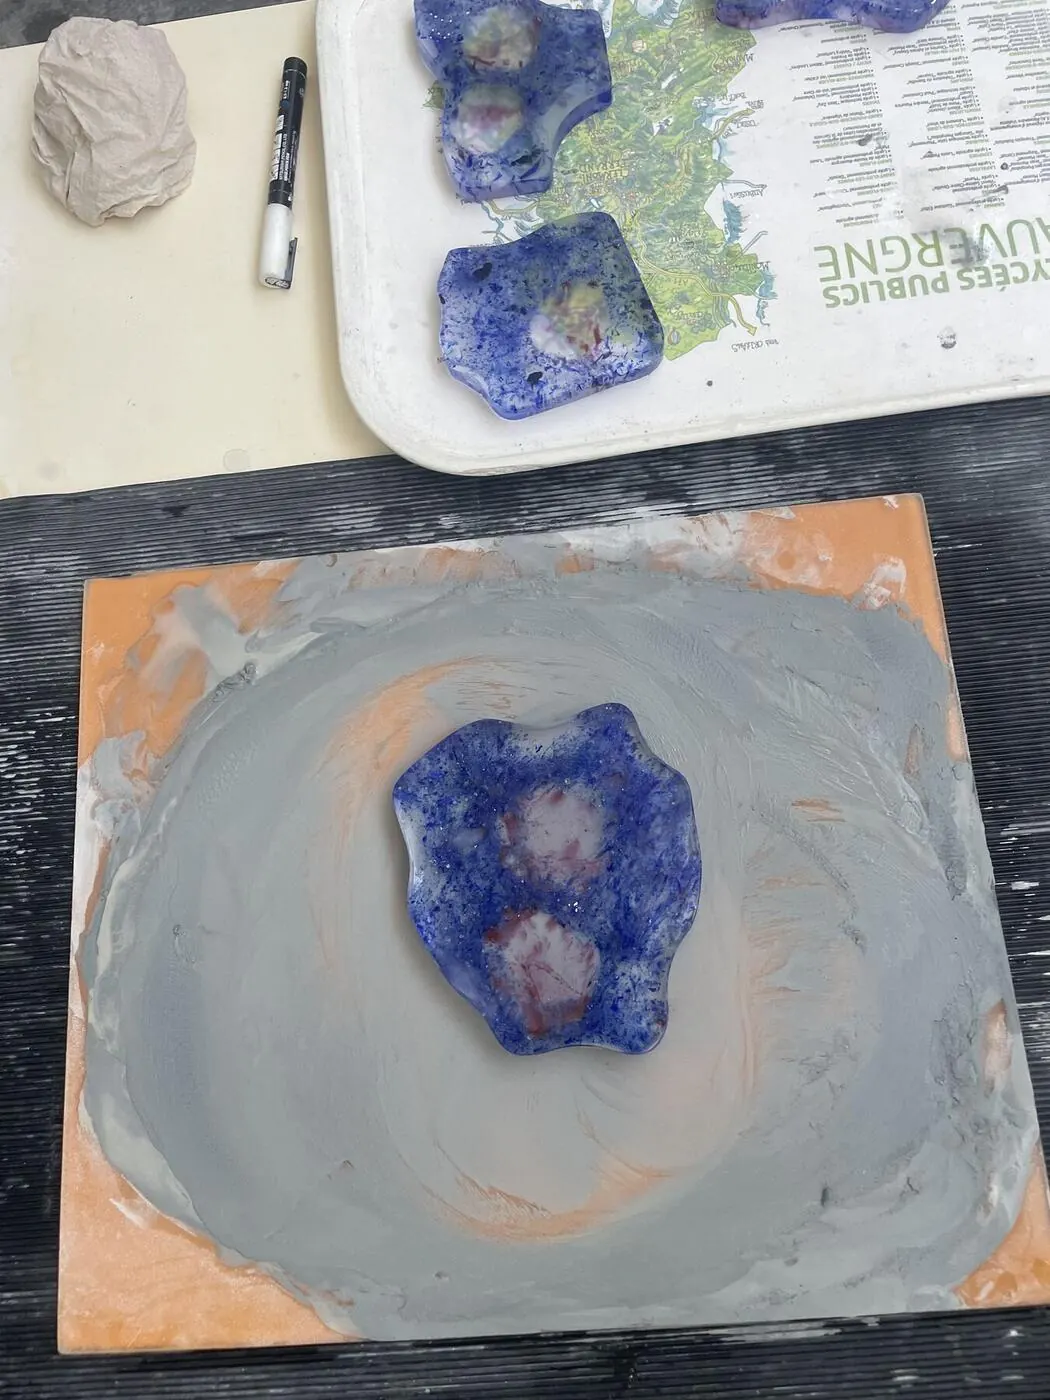

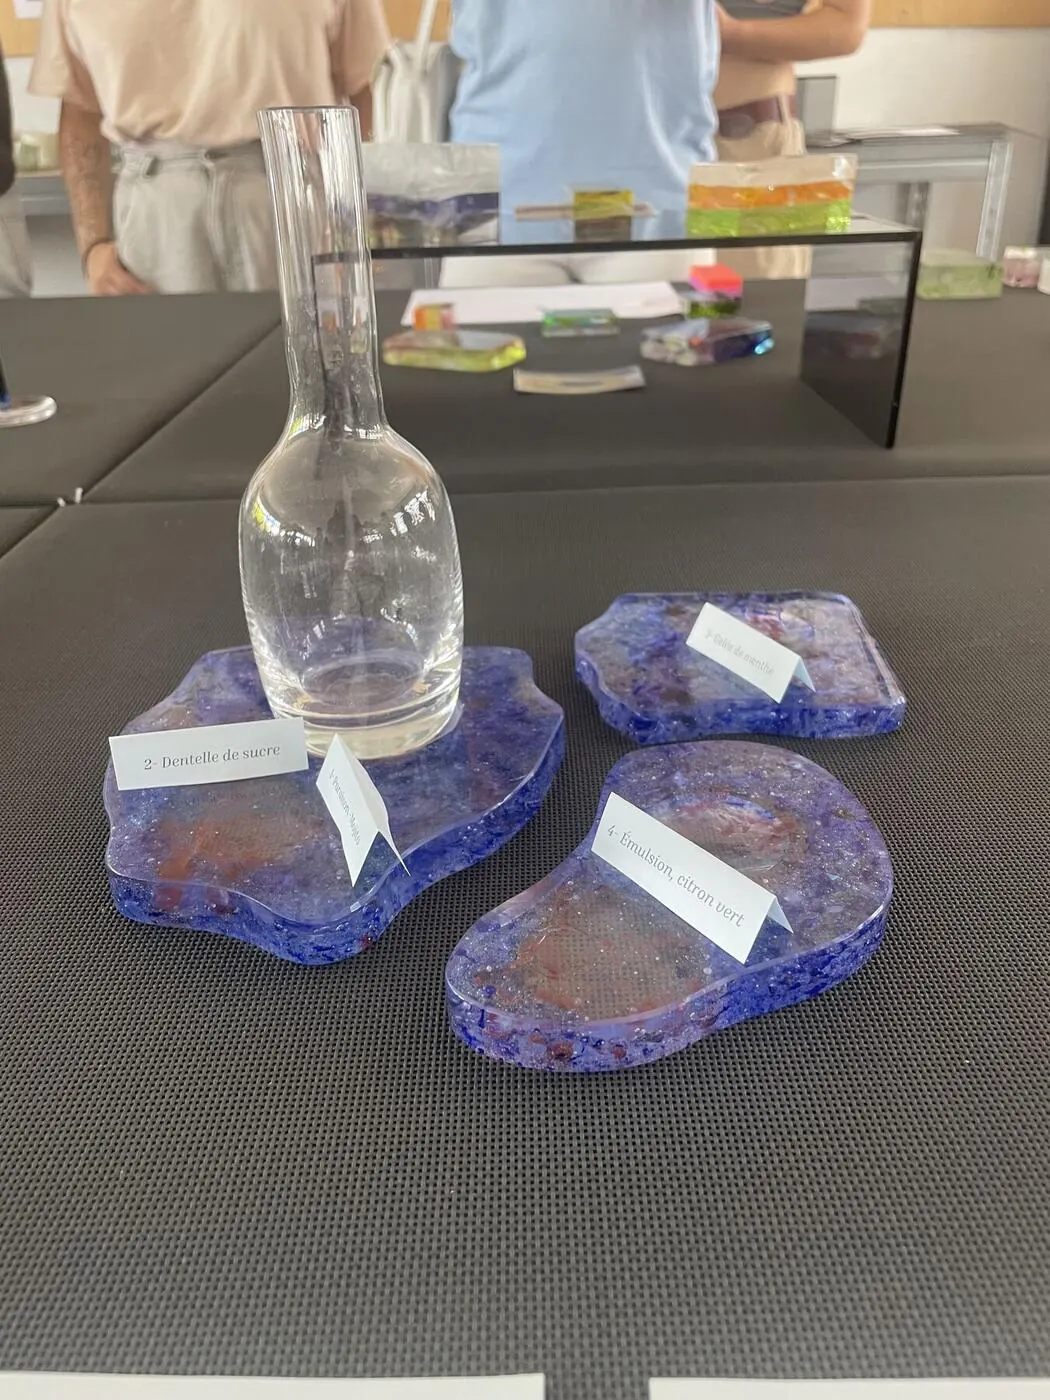
A project on recycling the coloured glass left over from the hot glass workshop. I designed a tray-plate for serving molecular cuisine. The colours are inspired by the inside of the human body and its molecules, which explains the red and the blue, with the clear circles.
Credit: Ines Legros-Auberon
- Collect coloured glass from the hot glass workshop.
- Run colour tests to see how the glass reacts.
- Make large blocks that can later be cut to the chosen shape.
- Saw the large block into smaller blocks.
- Grind the blocks to the chosen shape.
- Grind the underside of the blocks on the flat plate until it is flat and smooth.
- Core-drill halfway into one block so a glass can sit in it, and carve small rounded holes to hold food.
- Polish everything, so the glass is clear and the colour shows.
Personal work
A look into my personal work.
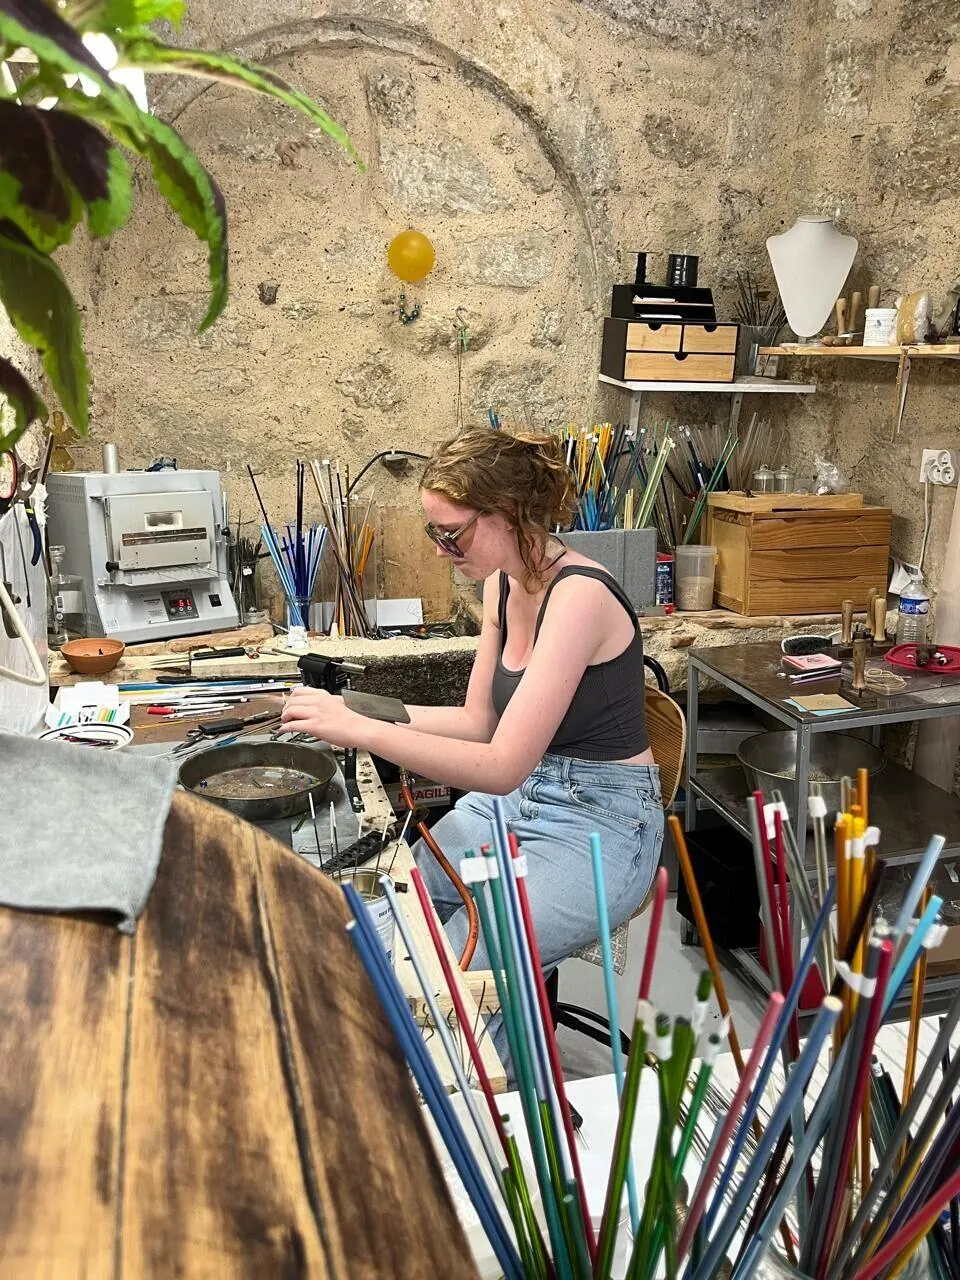

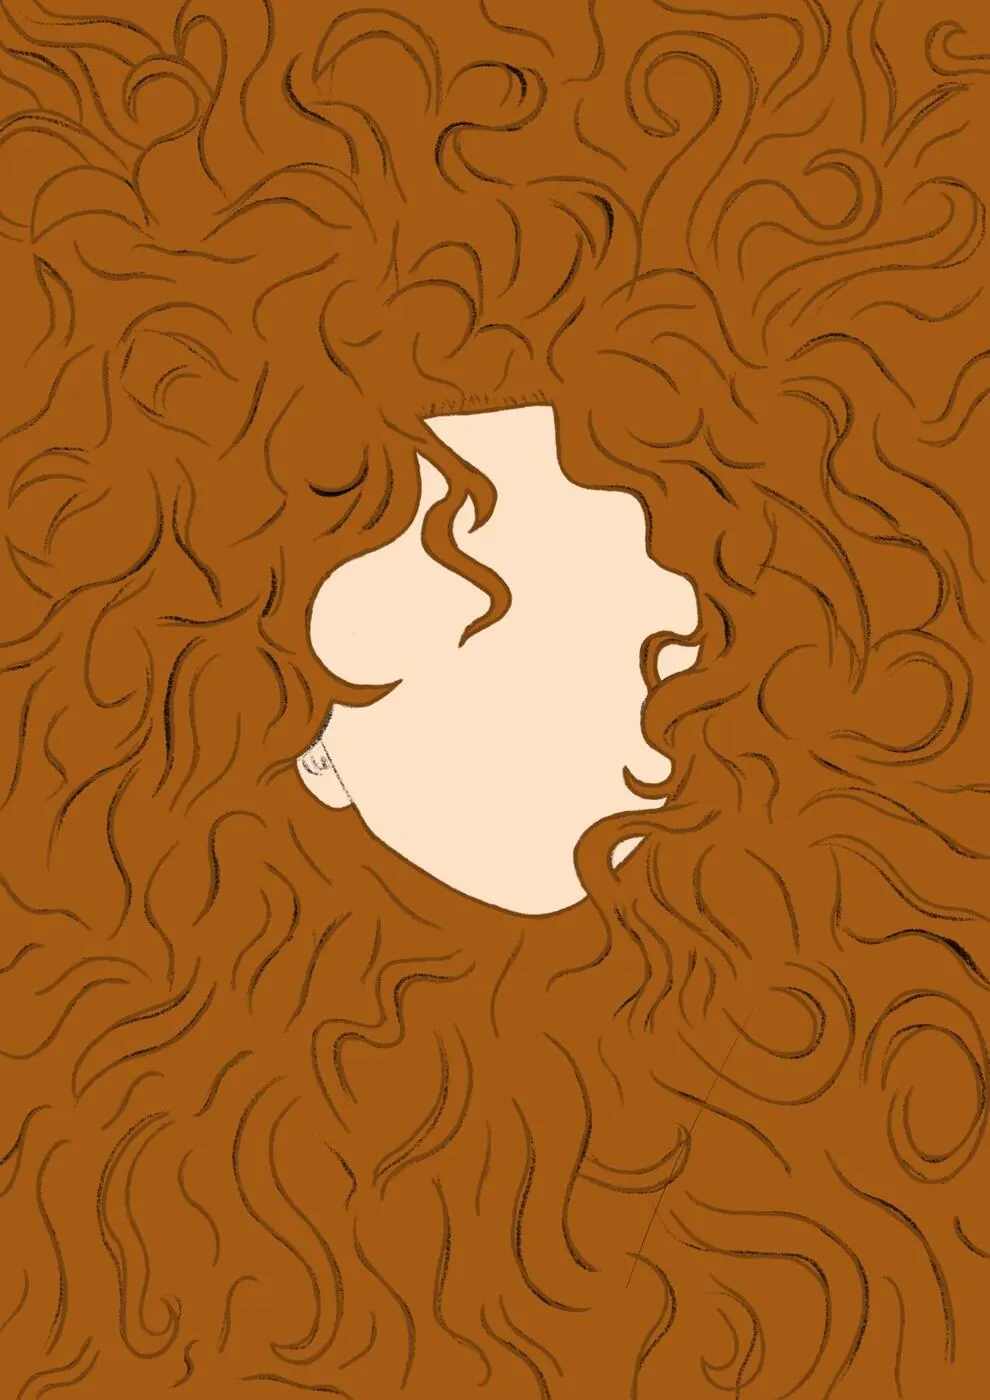


From working at the torch to experimenting with glass using my school's resources and practising my drawing, I am always looking for new things to try and add to my experience.
 English
 Français